
26 June 2012
FORWARD FUSELAGE
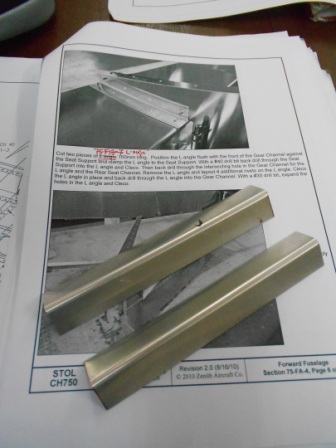
Two pieces of L-Angles trimmed 150mm long are cutted from the stock.
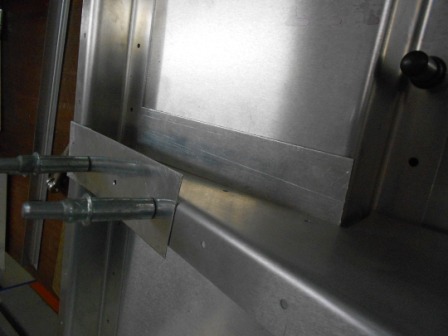
We worked on the right side cabin fuselage for the first L-angle. We have cutted an aluminum plate and drill holes to match up with the center off pilot holes on the seat base (75F11-4). Then, we clecoed the seat support and rear seat channel (75F11-3) using the plate to get the actual orientation when the seat base is on the position.
Then, we also have cutted an aluminum plate that the same thickness with the rear seat channel (75F11-3) and locate it between the seat support and gear channel. This will maintain the distance between these two parts.
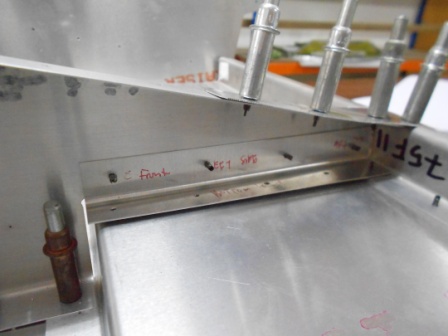
We position the L-angle flush with the rear seat channel, against the right side seat support. With a pen, we then marked four points through the holes on the seat support.
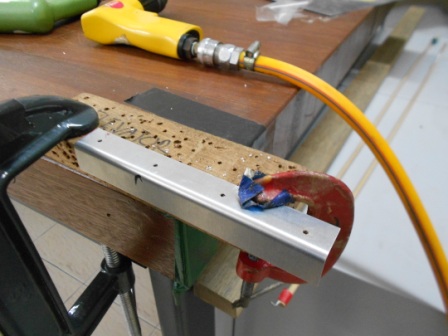
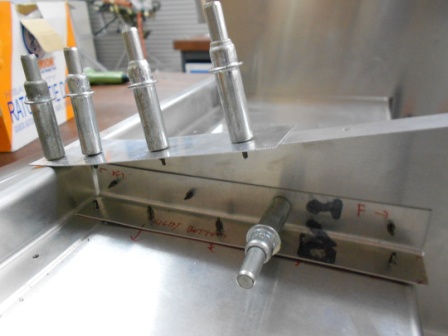
Then, with #40 drill bit, we drilled the marks on the L-angle by clamping it with G-clamp.

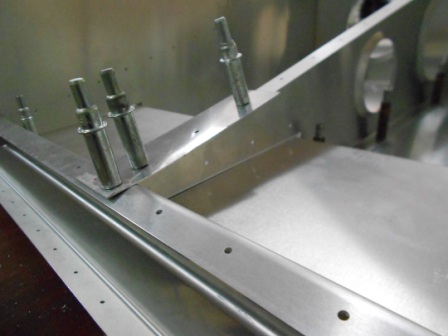
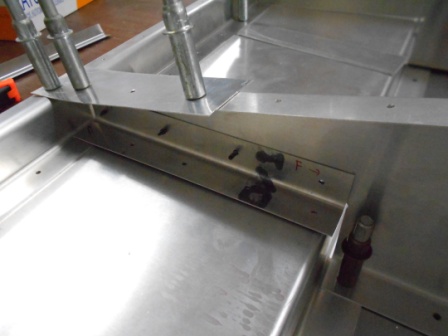
We grip the L-angle against the right side seat support with #40 size grip pin (red).
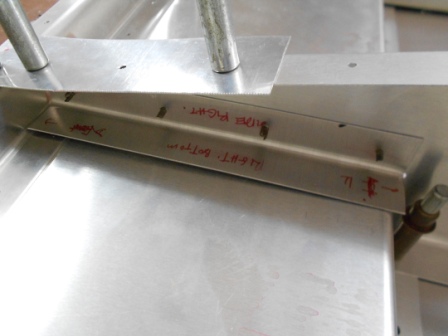
With a sharpie pen, we marked the hole that is through gear channel and rear seat channel on the L-angle. The marking is red dot on the aft of the L-angle.
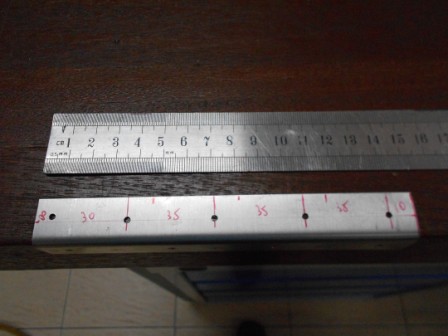
Then, we layout 4 additional rivets on the L-angle. The dimensions are shown in the picture. The dimensions agreed the CH construction standard. We then drill the marks with #40 drill bit on the L-angle.
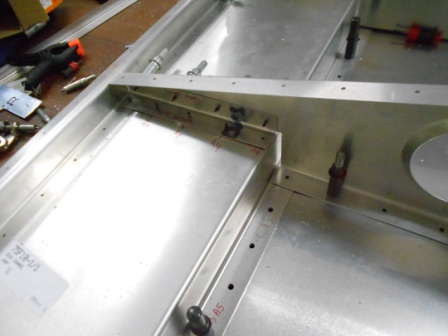
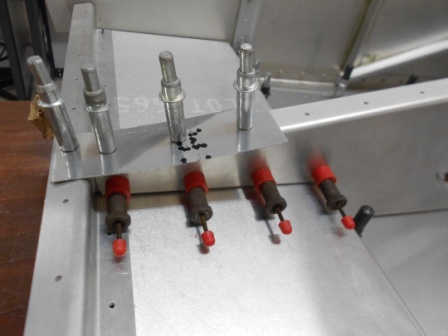
We have clecoed the L-angle to the seat support with clecos.
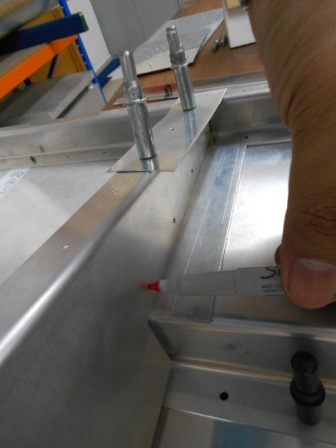
While the plate is still holding the right seat support and the rear seat channel, we then made a straight line perpendicular with the gear channel edge and marked it on the gear channel. then we drilled through the L-angle and gear channel with #40 drill bit and clecoed.
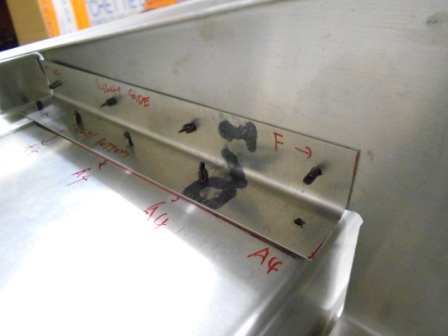
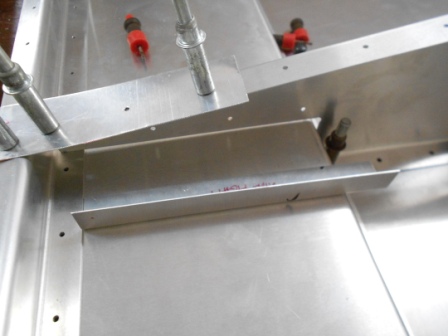
The L-angle is finished drilled with #40 through the gear channel and right side seat support. It is clearly shown I the picture the red line on the gear channel is along the edge of the L-angle.
Finished operation for the 150mm L-angle on the right side cabin fuselage with #40 holes on the L-angle.
We then continue to the left side cabin fuselage on the same operation for the 150mm long L-angle. After we have marked 4 marking through the seat support and the L-angle, then, we drilled the L-angle with #40 drill bit by clamping it with G-clamp.
Then we clecoed the L-angle to the seat support, locate a plate that is the same tick with the rear seat channel between the seat support (left) and the gear channel and marked through the hole on the gear channel and rear seat channel on the L-angle. Then, we drilled the mark with #40 drill bit on the aft of the L-angle while the G-clamp clamped the L-angle in place.