
2 August 2012
FORWARD FUSELAGE
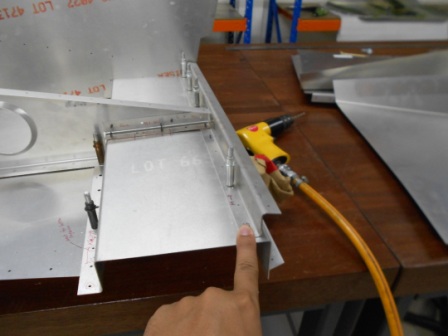
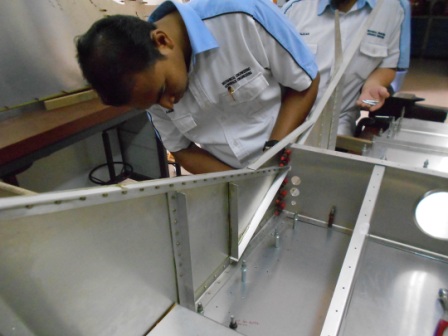
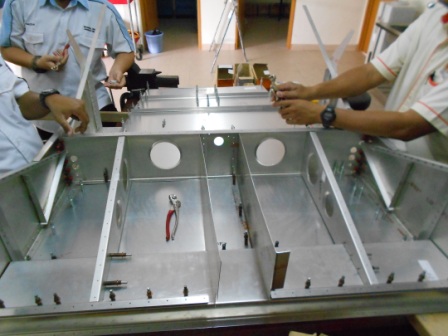
Both rear seat channel are clecoed to the gear channel with #40 clecoes. The holes are checked so that no mistakes on the installation.
With #30 drill bit, left Rear Seat Channel is back drilled through the holes into the gear channel. After the holes have been expanded, the left rear seat channel is clecoed to the gear channel with #30 clecoes as shown.
Then, with a #30 drill bit, right rear seat channel is back drilled through the holes into the gear channel. After the holes have been expanded, the right rear sear channel is clecoed to the gear channel with #30 clecoes as shown.
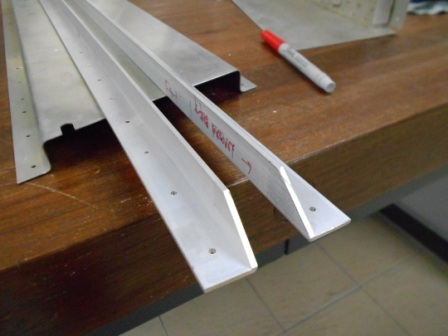
We have trimmed both lower longerons along the line to the 20mm mark with a hack saw.
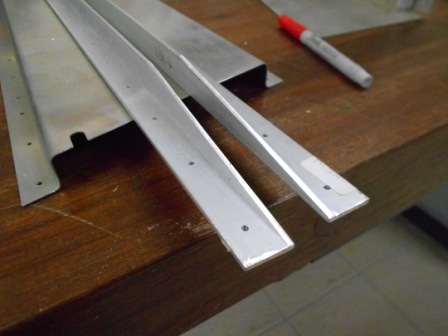
Then, we also have trimmed along the line to the 120mm mark.
Both Lower Longerons are show trimmed on its edge.
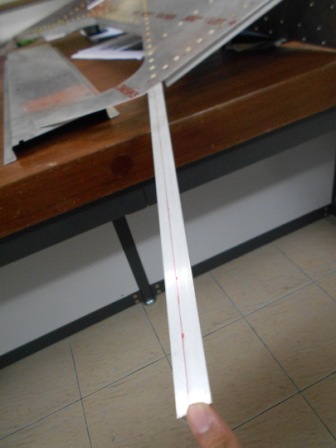
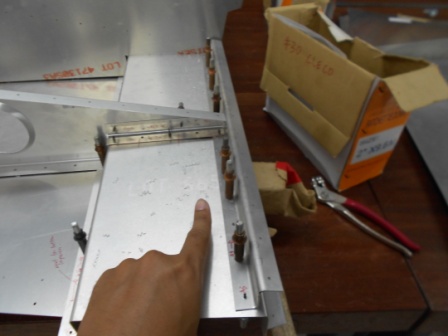
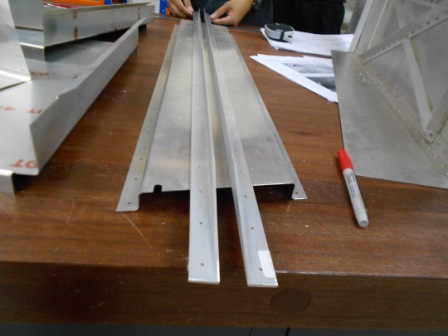
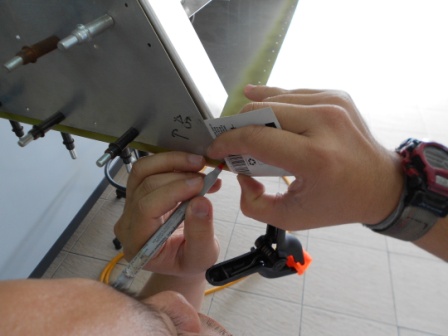
Both cabin side assembly (left and right) is unattached from the rear fuselage. A straight line as shown in the picture is marked along the aft and front cabin side Assembly Longeron (left and right).
Both Cabin Side Assembly are then clecoed to the cabin floor. Both lower longerons also clecoed to the cabin floor, and under the cabin side assembly. Plans are checked for assembly consistency.
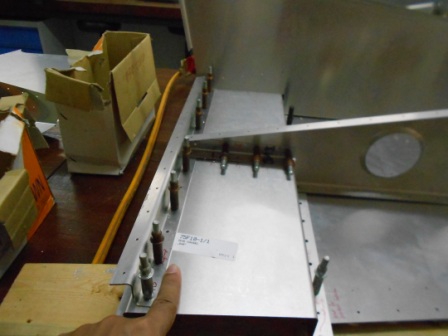
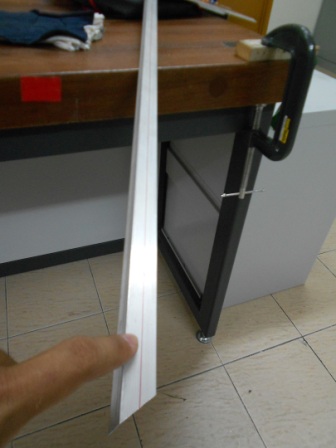
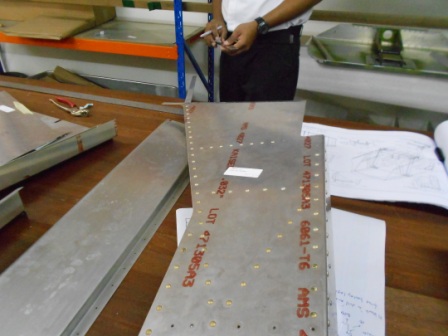
Both excess bottom longerons are then marked until to the end of the skin as shown in both pictures.
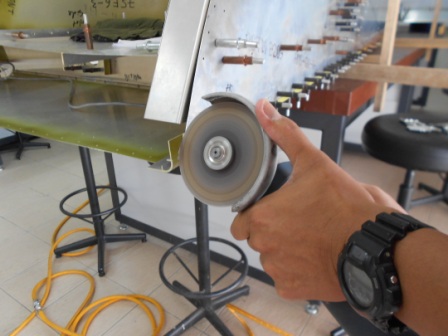
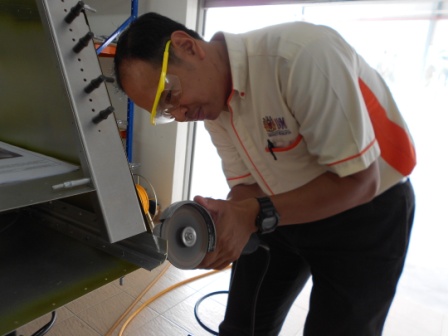
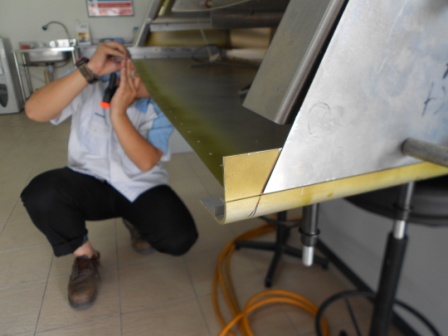
With a grinder, we then trim the excess bottom left longeron along the marked line. Then, we filed the trimmed edge to smoothen the edge from the cutted edge.


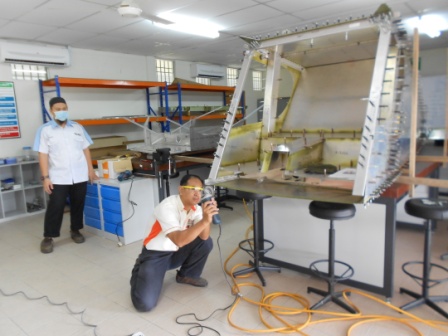
Then, we also trimmed the excess bottom right longeron along the marked line. Then, we filed the trimmed edge from the cutted edge.
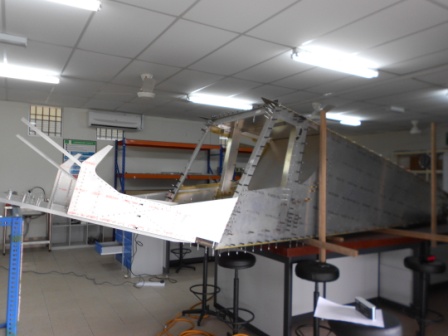
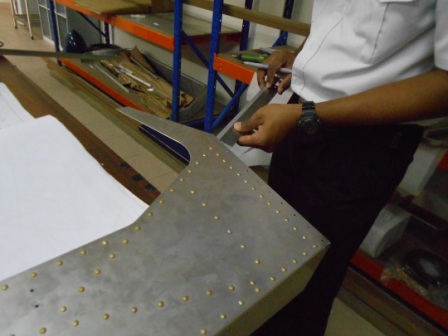
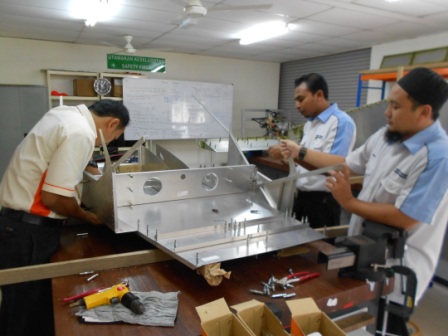
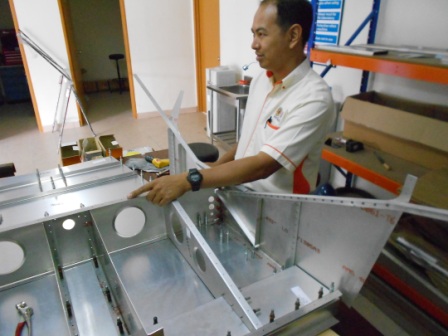
The forward fuselage is then installed to the rear fuselage. The sides of the forward fuselage cabin side are clecoed with #40 clecoes to the rear fuselage. Then, with #40 clecos, the bottom gear channel is then clecoed to the skin rear fuselage. The forward fuselage is supported by a frame to hold its weight.