
11 June 2014
FUSELAGE JOINING & FORWARD FUSELAGE SECTION


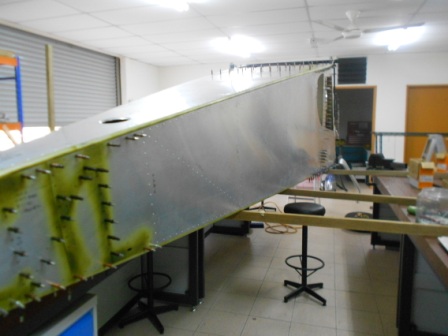
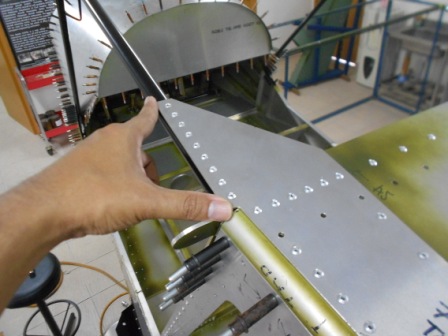
Today we have started to assemble the Top Skin of the fuselage. Mr Ismail worked on the Pilot Side of the Fuselage by inserting the A3 rivets into the holes. Then by using hand riveter, he riveted the side of the Top Fuselage as in the picture. This process will close the Top Fuselage and the Sides of the Fuselage

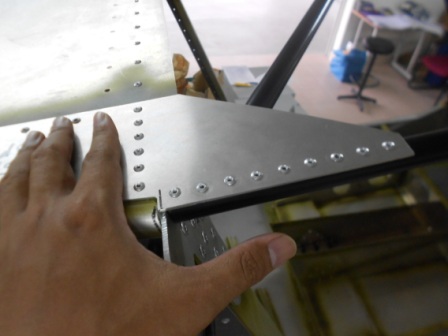
As shown in the picture below, we have completed riveting the Top Sides of the fuselage

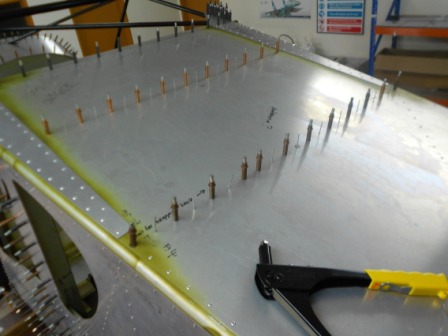
Next we continue to rivet the Passenger Sides of the Fuselage
As shown in the picture below, we have finished riveting the Right Sides of the Fuselage. Everything was checked and there is no broken rivet after the process

And next, we moved on to rivet the Top of the Fuselage that is the Baggage Angle (75F6-5) to the Top Skin (75F2-1) with an A3 Rivet
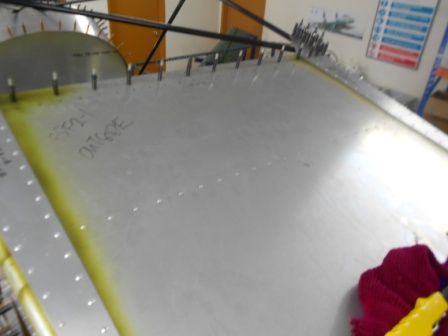
And next from the Top Skin to the L – Angle with an A3 Rivets
And from the Top Skin to the Top Channel (75F3-6). The rivets are all checked and there is no crack or any problems with the rivets

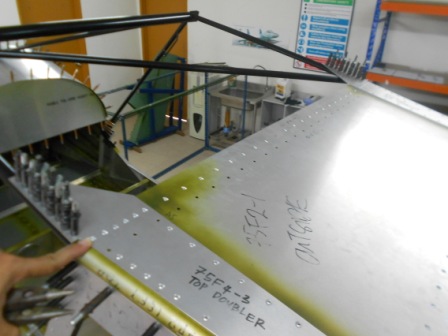
Next, by using hand riveter, we continue to rivet with an A5 rivet, from 75F4-3 (Top Doubler) to the 75F15-1 (Cabin Frame). The rivets are checked only on the head of the rivet and no problem with the rivets. Only we can’t checked the tail of the rivets since it is now in the Cabin Frame
And as in the picture below, we also have completed riveting the Passenger Side of the Cabin Frame and the Top Doubler. Rivets are perfect and no problem on the rivets