
25 June 2014
FUSELAGE JOINING & FORWARD FUSELAGE SECTION

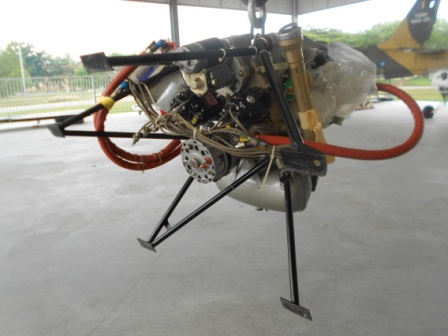
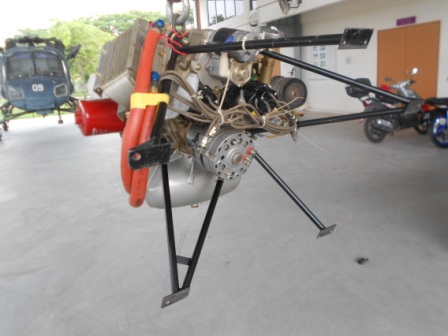
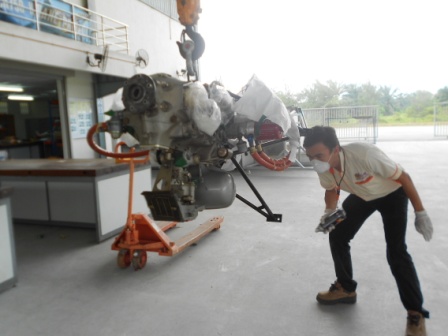
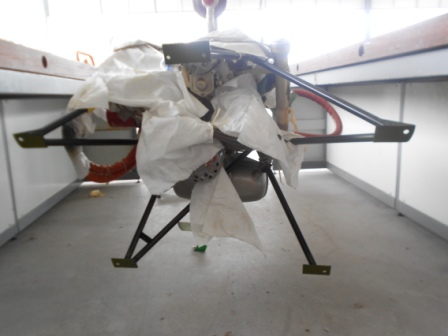
Today, we will remove the engine and the mounting, so that we can continue to repaint the mounting for the engine with black paint and also with primer
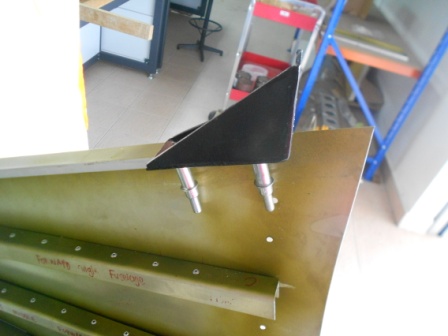
After the engine has been removed, the firewall, and the Forward Top Skin are then removed. Now, we will enlarge the holes for the (75F14-2) Upper Engine Mount Fitting, with 3/16” drill bit. As shown in the picture below, this is the Upper Engine Mount Fitting for the Pilot Sides

The holes are enlarged to 3/16” size

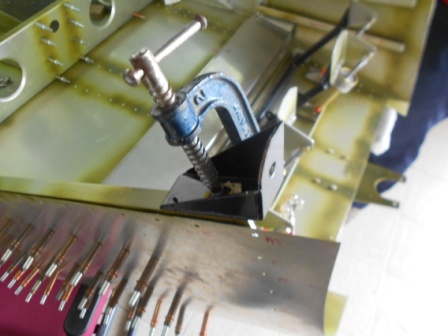
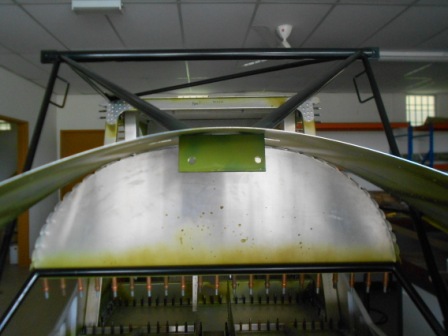
And now we move on the Passenger Side Fuselage. This will also go the same process that is to expand the pilot hole into 3/16” size hole. As we can see the Upper Engine Mount Fitting is clamped with a G-clamp


The holes are enlarged as in the picture
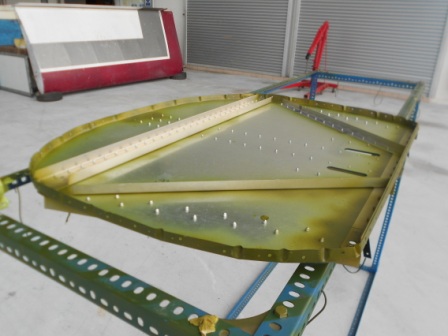
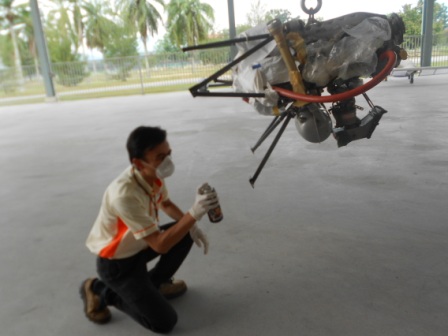
And now we start to primer again on surfaces that are needed to be primered. Such as the locations where the Upper Engine Mount Fitting and Lower Engine Mount Fitting will be contacted with the Firewall, and also the Gusset of the Engine Mount that will contacted to the Firewall
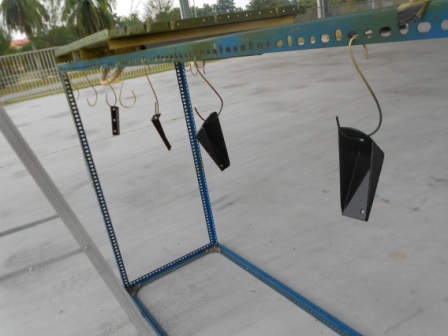
We also deburred the holes on the Upper Engine Mount Fitting and Lower Engine Mount Fitting that have just been drilled before, repainted with paint and primer

In progress of repaint the holes that are drilled yesterday

Next we painted with primer again the locations that will be contacted. The parts that are repaint with primer, are then left for around two days so that the paint is totally cured