
14 August 2012
RUDDER
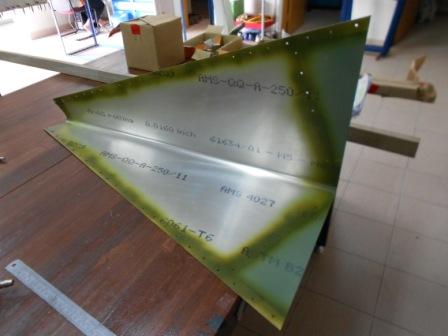
For the Nose Rudder Skin, We have added primer to the overlapping part that is on the rivet line. As before this, we did not apply any primer to any mating parts on the rudder. The primer is left for one day so that it will dry completely. The holes are checked for holes tolerances.
We also have added primer to the rudder spar that is on the rivet line, Rudder Nose Rib rivet line and Rib Tip.
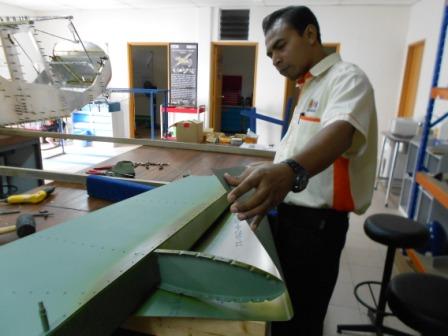
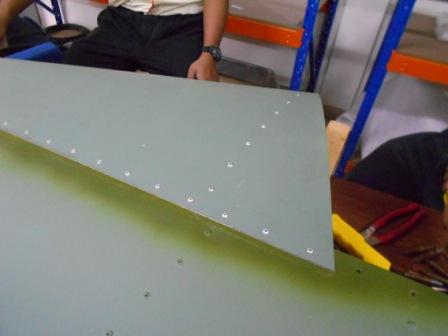
The Rudder Nose Skin is then pre installed to the Rudder Assembly. Some excessive skin on the top of the rudder is then smoothened with a file and the debris is wiped out with a cloth.
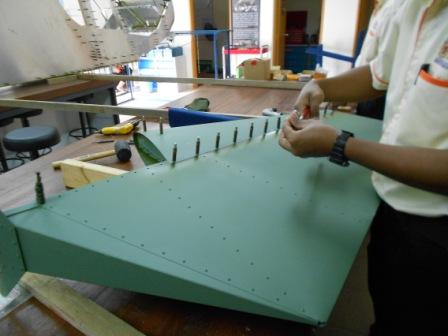
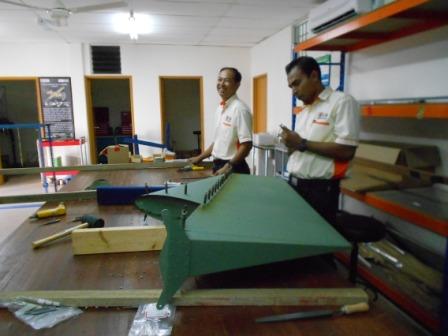
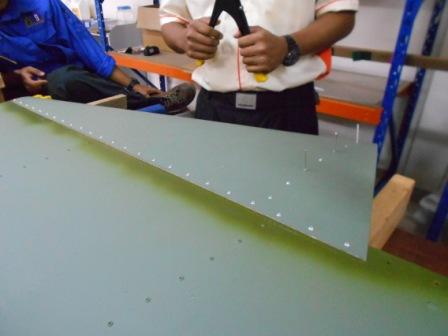
Then, with A4 clecos, we clecoed the Rudder Nose Skin through the Rudder Spar and Nose Rib on the Rudder Left Side.
Then we clecoed the Rudder Nose Skin to the Rudder Spar and Nose Rib on the Rudder Right Side with A4 clecos.
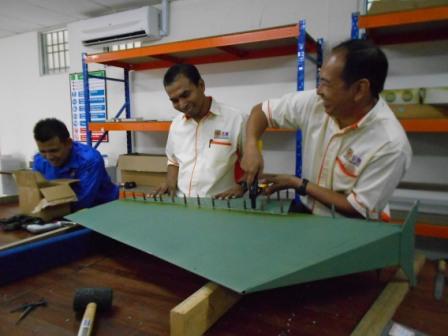
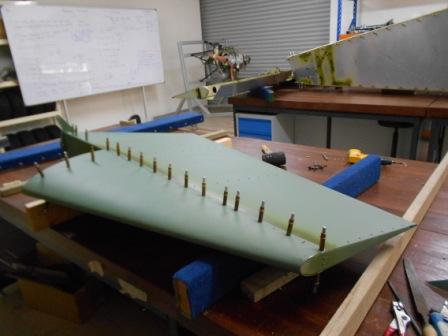
With an A4 rivets, we riveted the Rudder Spar and the Rudder Nose Skin. Two woods are used to support the bottom skin.
With an A4 rivets, we also riveted the Rudder Nose Rib to the Rudder Nose Skin while the other holes is fastened by A4 clecos.
We finished riveting the Rudder Nose Skin to the Rudder Spar.
Then we have finished riveting the Rudder Nose Skin to the Rudder Nose Rib.
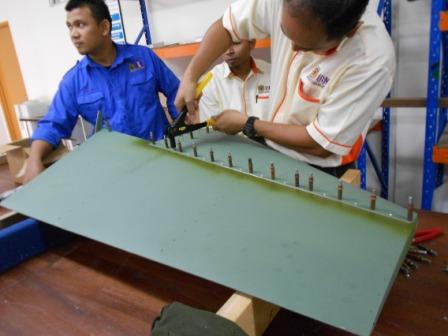
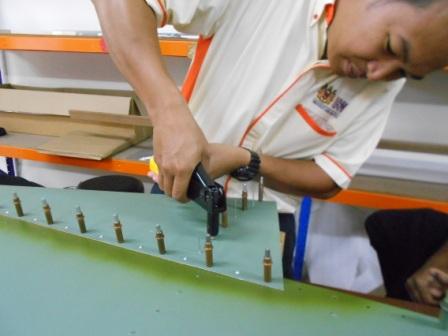
With A4 rivet, we then start to rivet the Left Side Rudder. We started to rivet the Rudder Nose Skin to the Rudder Spar.
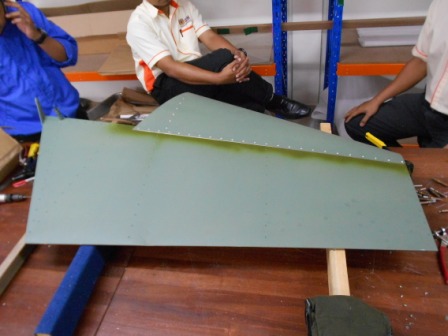
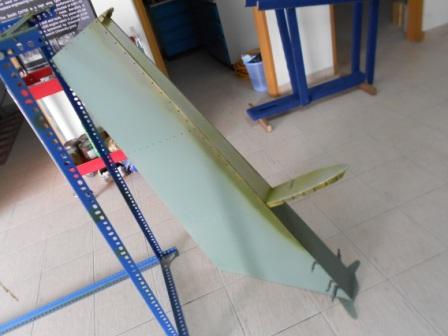
In the picture, it is shown that the Rudder has complete riveted. The rivets are checked and there is no sign of rivet problem. The Rudder is completed with some repairs made.