
1 October 2013
FUSELAGE JOINING & FORWARD FUSELAGE SECTION
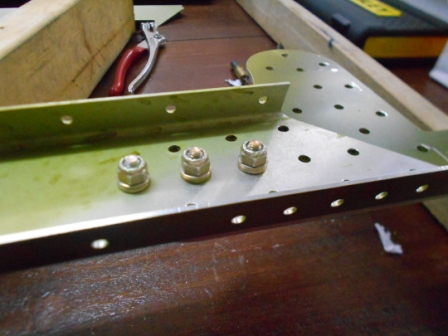

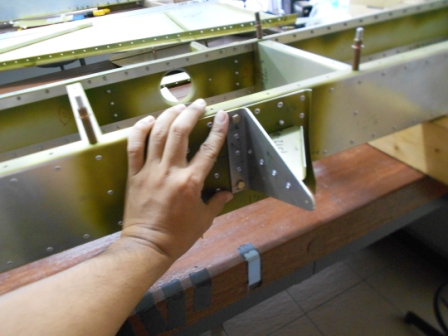
As for today, we have started to tighten the nut on these two parts that are 75F3-6 that is Top Channel and 75F4-4, Rear Wing Attachment. The required Bolts are 3 bolts AN3-5A on both sides. As in the picture, it is shown that the nuts on the Pilot sides are torque with 25 inch pounds.
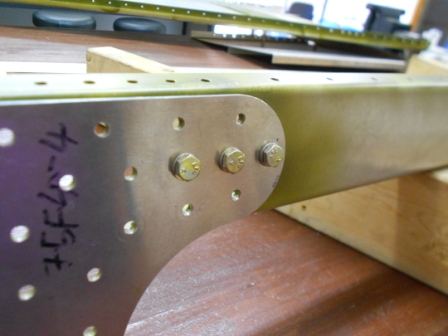

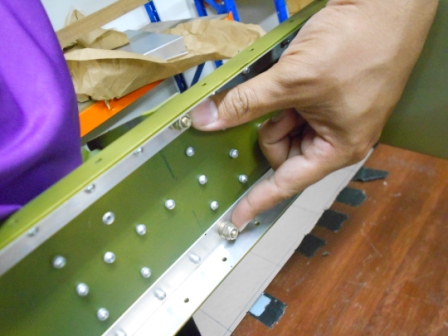
Next we move on to tighten the nut on the Passenger Side of the Top channel and Rear Wing Attachment. The required Bolts are 3 bolts AN3-5A on both sides. As in the picture, it is shown that the nuts on the Pilot sides are torque with 25 inch pounds.
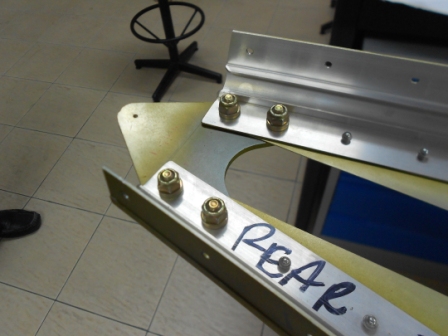
Next we move on to the Rear Top Fuselage, 75FA-2 Plan shows that 4 Bolts AN3 is needed. So we have selected AN3-________ as it is fit, and will show more than two threads protruding over the locknut and there is no thread in the hole. As in the picture, it is shown that the nuts on the Pilot sides are torque with 25 inch pounds.
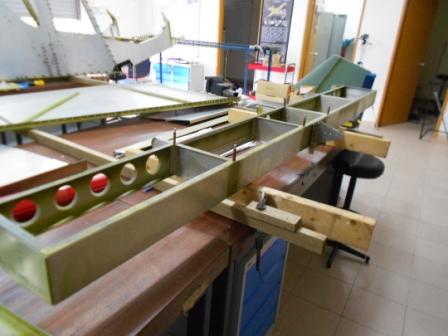
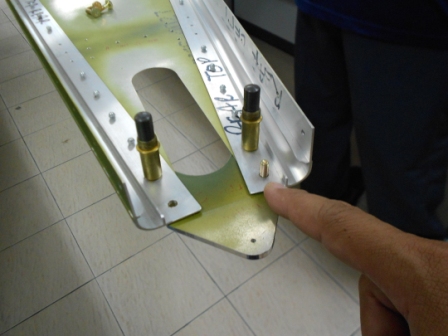
Next, we move on to insert the bolt on the Horizontal Stabilizer. The plan, 75-TA-1, shows that we need 2 AN3 bolts. Therefore we have selected two AN3-________ as it is fit, and will show more than two threads protruding over the locknut and there is no thread in the hole. As in the picture, it is shown that the nuts on the Pilot sides are torque with 25 inch pounds.
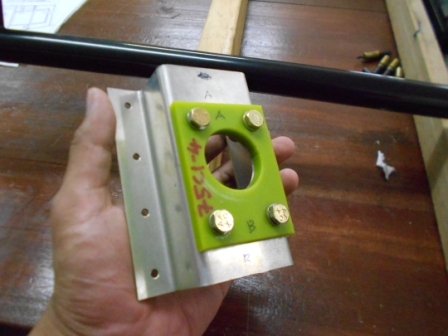
Now we move on to the Flaperon Controls, as in the plan 75-CA-1. We need to use 4 bolts AN3 with Self Locking nuts as in the plan for this two parts, 75C1-4, and 75C1-5. . Therefore we have selected two AN3-________ as it is fit, and will show more than two threads protruding over the locknut and there is no thread in the hole. As in the picture, it is shown that the nuts are torqued with 25 inch pounds.
- Hits: 191