
13 December 2012
FLAPERON CONTROL
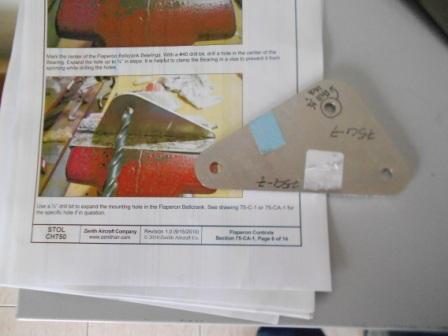
Then, we identified the hole that needs to be expanded, circled with black pen in the picture.
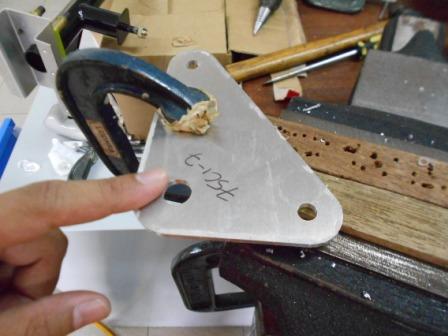
We then use a step drill, with a ½” drill bit to expand the mounting hole in the Flaperon Bellcrank.We do it on both sides. We have checked drawing 75-C-1 for the specific hole.We have done it to both of the Flaperon Bellcrank and no issue about this.
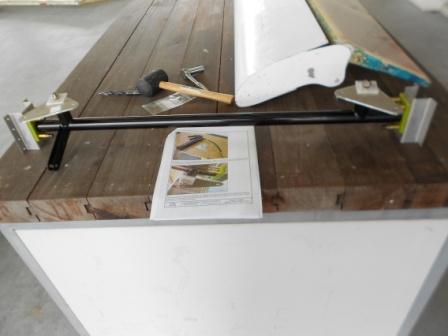
As in the photo assembly manual, we have make sure that the Flaperon Bushing should turn freely in the Bellcrank, and make sure that the hole is large enough for it to turn but not be too loose. At this point, we did not grease the outside of the Bushing and the faces of the Bearings that contact the Bellcrank. We only coated the Flaperon Bushing with LPS-3, rust inhibitor for now.
We then slide the bushing on the stud of the mixer. We did not yet put grease on the plate on the Mixer at this time and installed the first bearing followed by the Bellcrank and Second Bearing. We have half tighten the Castle Nut on the Stud for pre assembly.