
1 October 2012
FUSELAGE JOINING & FORWARD FUSELAGE SECTION
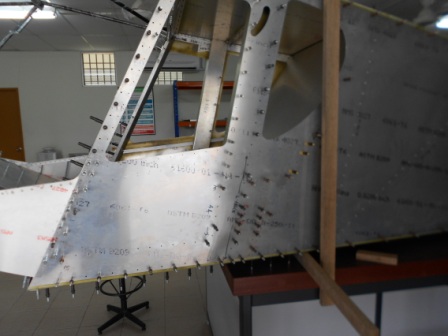
Today, we are ready to drill the side skin into the Forward Fuselage Longeron. We have examined the joining between the forward and rear fuselage, and the bases of both assemblies are level on bottom and top of the fuselage. There are no issues on the pilot holes between the forward and rear fuselage and that means both assemblies are aligned perfectly.
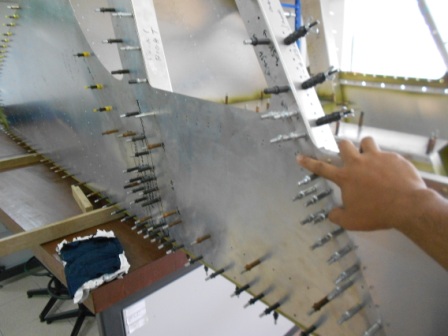
With a #40 drill bit, we then started to back drill through the side skin into the Forward Fuselage Longeron on the Pilot Side Cabin. The drilling is started from the connection between Forward Fuselage and Rear Fuselage.
We clecoed every holes that we drilled with #40 with silver clecos until the baggage back. It is shown in the picture.
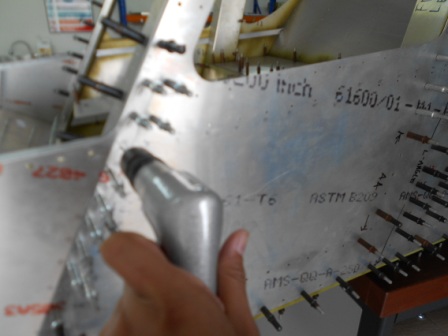
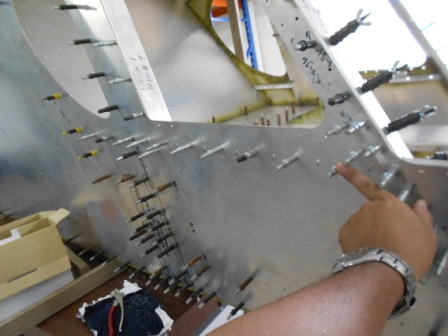
Then, we used a #30 then #20 drill bit to expand the holes and cleco with #20 clecos (black). We then checked for the consistency of the drilled holes and there are no issues about that.
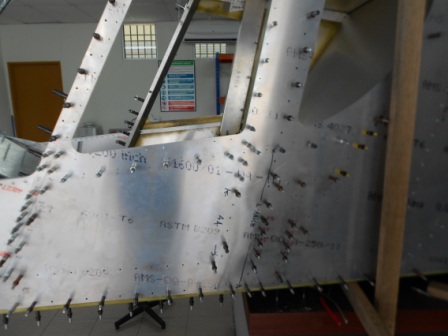
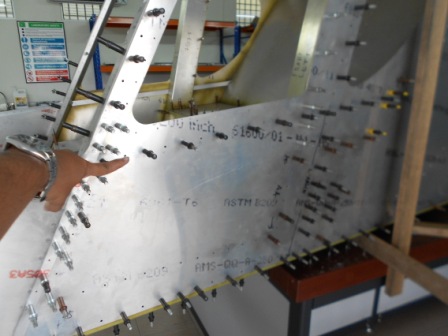
We then checked the passenger side longeron and it is in perfect location. We then marked the holes that will be drilled with #40 drill bit.
With a #40 drill bit, we then back drill through the side skin into the Forward Fuselage Longeron and cleco with #40 drill bit from the Fuselage joining to the baggage back.
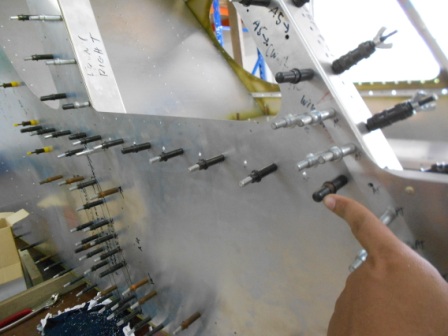
Then, with a #30 drill bit, we enlarged the holes and then with a #20 drill bit, we enlarged the holes and clecoed with #20 cleco (black). The holes are then checked for the consistency of the holes and there are no issues about that.
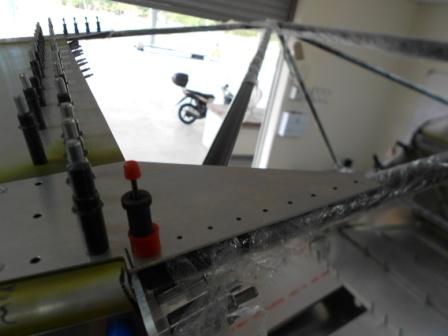
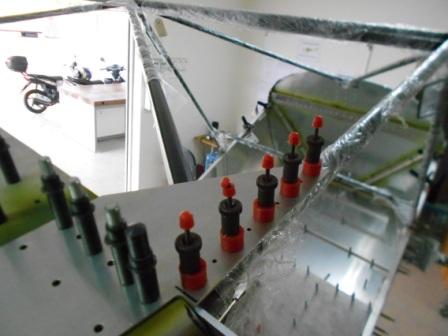
With a grip pin, we then cleco the Cabin Frame into the Top Doubler on the Pilot Side. We examined the holes that need to be drilled and checked the Cabin Frame is in the good position with the Top Doubler.

With a #40 drill bit, we then back drilled through the Top Doubler into the Cabin Frame for the remaining holes and clecoed. With a #30 drill bit, we then enlarged the holes then with a #20 drill bit, we then expanded the holes and clecoed (blue).
Next, we moved on to the passenger side. We examined the holes, and the cabin frame is also in a perfect position with the cabin frame. With a grip pin, we then gripped the Cabin Frame and the Passenger Side Top Doubler.
With a #40 drill bit, we then back drill through the Top Doubler into the Cabin Frame for the remaining holes and gripped with grip pin.
- Hits: 201